Astro を学んでみる(6)
本記事は、書籍「Astro フロントエンド開発の教科書」によるAstroの勉強、6回目です。
記事内のコードは書籍のものではなく、独自に作成しています。
第5章 コンポーネントベースのWebサイト制作
5.1 コンポーネントベースのWebサイト制作ケーススタディの概要
架空の企業Webサイトを制作していきたいと思います。
作成するページ
| ページ名 | URL | ファイル名 |
|---|---|---|
| TOPページ | / | index.astro |
| 企業概要ページ | /about | about.astro |
| ニュース一覧ページ | /news | news/[...page].astro |
| ニュース詳細ページ | /news/news-1 | news/news-[id].astro |
作成するファイル
| 種別 | 内容 | ファイル名 |
|---|---|---|
| layouts | TOPページのレイアウト | TopLayout.astro |
| layouts | 下層ページのレイアウト | LowerLayout.astro |
| components | ヘッダーコンポーネント | Header.astro |
| components | フッターコンポーネント | Footer.astro |
| components | ニュースコンポーネント | NewsListItem.astro |
| components | カードコンポーネント | Card.astro |
| ts | インターフェースの定義ファイル | interface.ts |
| ts | お知らせ情報管理ファイル | newsList.ts |
| json | お知らせ情報の中身 | newsData.json |
---
---

<header>
    <h1>
        <a href="/">株式会社XXX</a>
    </h1>
    <nav>
        <ul>
            <li><a href="/about/">企業概要</a></li>
            <li><a href="/news/">ニュース一覧</a></li>
        </ul>
    </nav>
</header>

<style>
    header {
        display: flex;
        justify-content: space-between;
        align-items: center;
    }
    nav ul {
        list-style: none;
        display: flex;
        gap: 1em;
    }
</style>
ナビゲーションは別ファイルとして作った方が良かったですが、とりあえずここに直書きさせています。
左上に表示させている会社名はロゴが入る予定の箇所です。
---
---

<footer>
    <address>
        <p>株式会社XXX</p>
        <p>〒012-3456</p>
        <p>東京都YYY区ZZZ町1-1-1</p>
    </address>

    <p class="copyright">©株式会社XXX</p>
</footer>

<style>
    footer {
        text-align: center;
        background-color: #ccc;
        padding: 10px 0;
    }
    .copyright {
        font-size: 0.7em;
        margin-top: 50px;
    }
</style>
フッターについては特に何もありません。
5.2 BaseLayoutの作成
TOPページ用と、下層ページ用の2種類を作成しました。
---
import Header from "@/components/Header.astro";
import Footer from "@/components/Footer.astro";

interface Props {
	title: string
}
const {title} = Astro.props;
---
<!doctype html>
<html lang="en">
	<head>
		<meta charset="UTF-8" />
		<meta name="viewport" content="width=device-width" />
		<link rel="icon" type="image/svg+xml" href="/favicon.svg" />
		<meta name="generator" content={Astro.generator} />
		<title>株式会社XXX | {title}</title>
	</head>
	<body>
		<Header />
		<main>
			<slot />
		</main>
		<Footer />
	</body>
</html>

<style>
	body {
		margin: 0 auto;
		padding: 20px;
    	max-width: 1200px;
	    height: auto;
	}
</style>
TOPページ用のレイアウトでは、HTML基本構造を作り、ヘッダーとフッターをコンポーネントで呼び出しています。
中身の部分はindex.astroにまかせます。
---
import Header from "@/components/Header.astro";
import Footer from "@/components/Footer.astro";

interface Props {
	title: string
}
const {title} = Astro.props;
---
<!doctype html>
<html lang="en">
	<head>
		<meta charset="UTF-8" />
		<meta name="viewport" content="width=device-width" />
		<link rel="icon" type="image/svg+xml" href="/favicon.svg" />
		<meta name="generator" content={Astro.generator} />
		<title>株式会社XXX | {title}</title>
	</head>
	<body>
		<Header />
		<main>
			<section class="lowerHeader">
				<h2>{title}</h2>
				<div class="content">
					<slot />
				</div>
			</section>
		</main>
		<Footer />
	</body>
</html>

<style>
	body {
		margin: 0 auto;
		padding: 20px;
    	max-width: 1200px;
	    height: auto;
	}

    .lowerHeader h2 {
        text-align: center;
        line-height: 3em;
        border-top: 1px solid #000;
        border-bottom: 1px solid #000;
    }
    .content {
        margin: 50px 100px;
    }
</style>
下層ページ用のレイアウトは、TOPページ用と異なりmainタグの中身を少し記述しています。タイトルは下層ページ共通の予定ですので、このようにしました。コンテンツ部分については各ページファイルに任せます。
なお、bodyタグのCSSが2つのファイルで被っていますので、本来cssファイルに別出しするべきですね。
5.3 TOPページの作成
---
import TopLayout from "@/layouts/TopLayout.astro";
import Card from "@/components/Card.astro";
import NewsListItem from "@/components/NewsListItem.astro";
import newsList from "@/content/newsData.json";
const title: string = "トップページ";
---
<TopLayout title = {title}>
<section class="mainVisual">
<p>メインヴィジュアル</p>
</section>
<section class="newsArea">
<h2>ニュース一覧</h2>
<ul>
{
newsList.map(
(item) => (
<NewsListItem
news={item}
/>
)
)
}
</ul>
</section>
<section class="cardArea">
<h2>ご案内</h2>
<Card />
</section>
</TopLayout>
<style>
section:not(:first-child) {
margin-top: 50px;
}
.mainVisual {
width: 100%;
height: 300px;
background-color: aqua;
display: flex;
justify-content: center;
align-items: center;
}
h2 {
text-align: center;
}
.mainVisual p {
font-size: 3em;
}
.cardArea {
width: 90%;
margin: 20px auto;
}
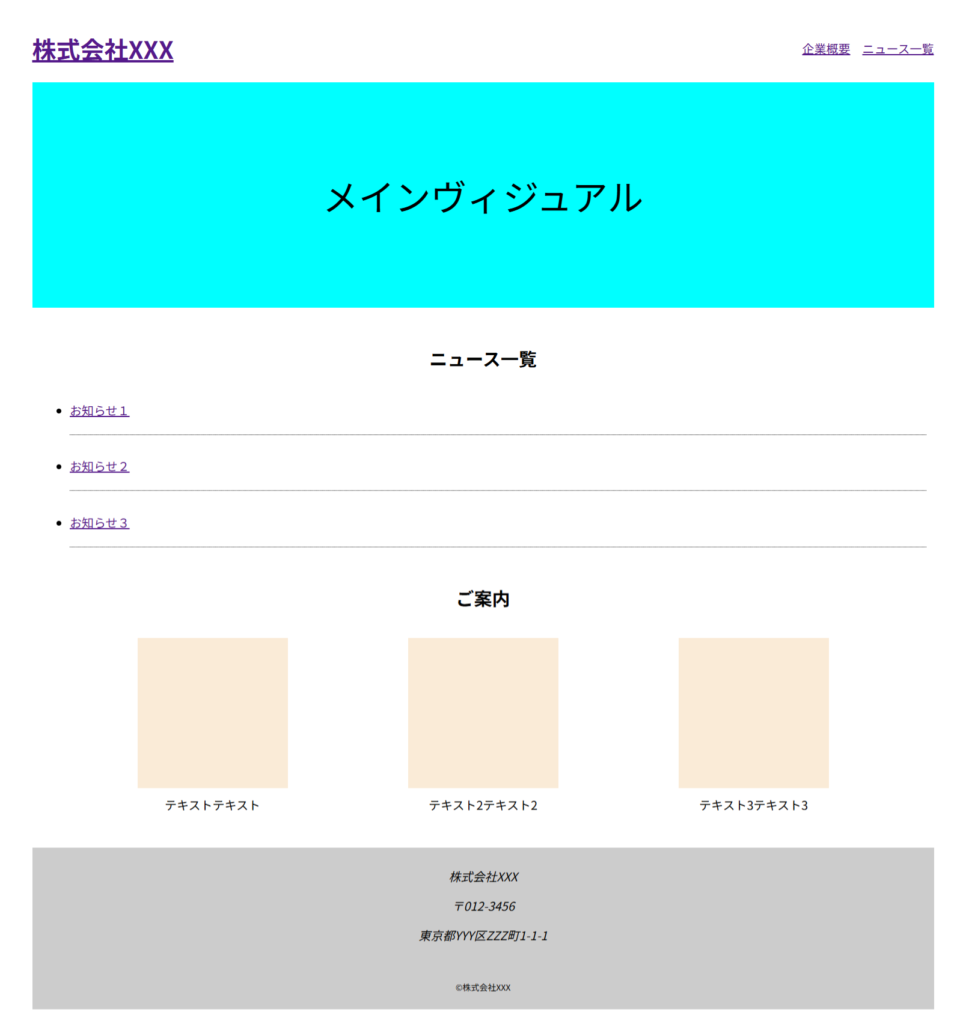
</style>TOPページのコンテンツ部分です。
メインビジュアルには画像表示やスライダー表示を想定しています。
お知らせについては、日付やカテゴリーも出したいところです。
ご案内の部分については、カードを並べています。特に見せたいページなどを紹介する事を想定しています。
---
---
<div class="cardList">
<dl>
    <dt></dt>
    <dd>テキストテキスト</dd>
</dl>
<dl>
    <dt></dt>
    <dd>テキスト2テキスト2</dd>
</dl>
<dl>
    <dt></dt>
    <dd>テキスト3テキスト3</dd>
</dl>
</div>

<style>
    .cardList {
        display: flex;
        justify-content: space-around;
    }
    dl dt {
        width: 200px;
        height: 200px;
        background-color: antiquewhite;
    }
    dl dd {
        text-align: center;
        margin: 10px;
    }
</style>
Cardコンポーネントのdtタグには画像を表示する想定です。
5.4 ニュースページとマークダウンファイル
ニュースについては、これまでに作成したファイルを代用しています。
5.5 デプロイの準備
最終的に出来上がったサイトは下記となります。
TOPページ
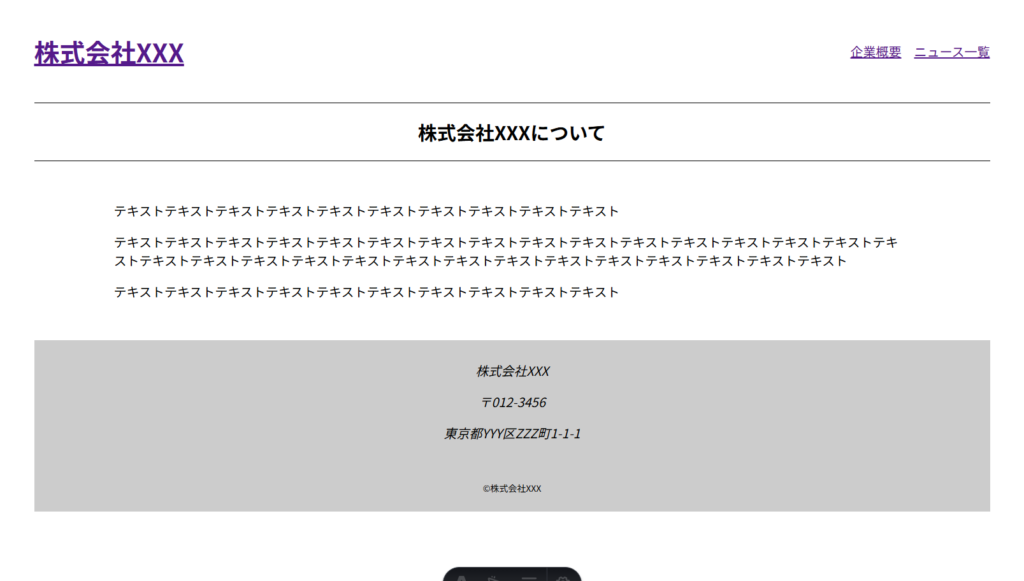
企業概要ページ
ニュース一覧ページ

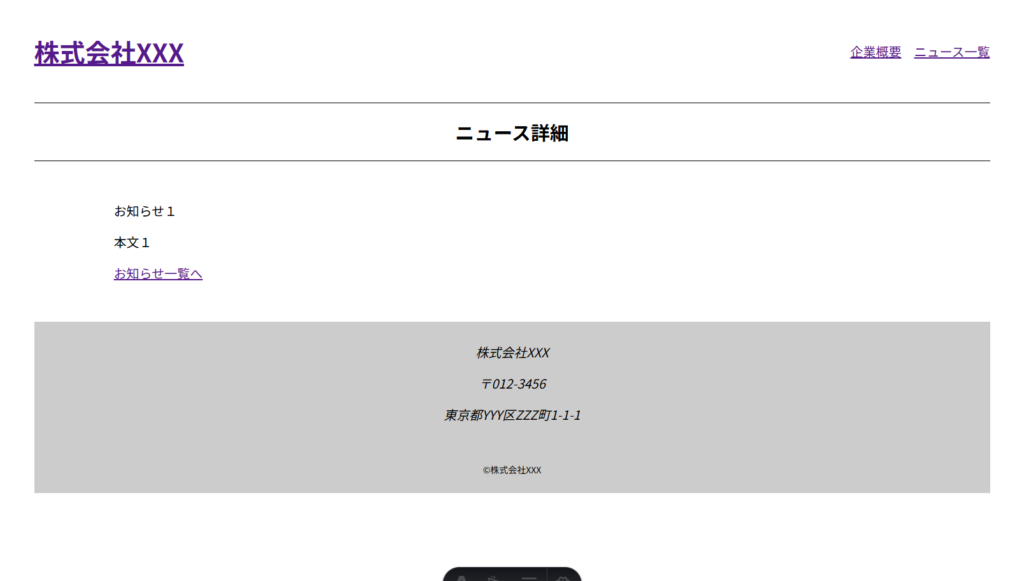
ニュース詳細ページ
\ 最新情報をチェック /