AHA Stack を試したい(4) HTMX編
HTMXについて
astroを動かしてみましたので、次はHTMXを試してみようと思います。
astroのチュートリアルにHTMXもあったのでそのまま試します。
まず、画面作成
<html>
  <head>
    <title>My page</title>
    <script src="https://unpkg.com/htmx.org@1.9.6"
      integrity="sha384-FhXw7b6AlE/jyjlZH5iHa/tTe9EpJ1Y55RjcgPbjeWMskSxZt1v9qkxLJWNJaGni"
      crossorigin="anonymous"></script>
  </head>
  <body>
    <section>
      <div id="parent-div">Target here</div>

      <button hx-post="/partials/clicked/"
        hx-trigger="click"
        hx-target="#parent-div"
        hx-swap="innerHTML"
      >
        Click Me!
      </button>
    </section>
  </body>
</html>
「Click Me!」ボタンをクリックした際に、HTMXを利用して要素のテキストを書き換えます。
| hx-post | postする先のURL |
| hx-trigger | トリガー |
| hx-target | 受け取ったHTMLをどこに挿入するか |
| hx-swap | 挿入方法 |
今回もコンポーネントを作成したので、index.astroは次のように変更しています。
---
import Htmx from '../components/Htmx.astro';
import Layout from '../layouts/Layout.astro';

// Welcome to Astro! Wondering what to do next? Check out the Astro documentation at https://docs.astro.build
// Don't want to use any of this? Delete everything in this file, the `assets`, `components`, and `layouts` directories, and start fresh.
---

<Layout>
	<Htmx />
</Layout>
バックエンド側は次です。
---
export const partial = true;
---
<div>I was clicked!</div>
結果。ボタンを押す前

ボタンを押した後
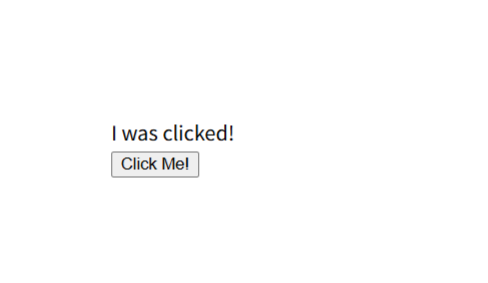
期待通りでした。
ajax通信部分のコードを書く必要がなく、簡単に思います。
\ 最新情報をチェック /